ReachRSS includes an easy to use administration interface for "point and click" changes to your preferences and the ability to add/manage your channels without any knowledge of programming or PHP.
This page is divided into several sections. There's information for people accessing the admin area for the first time, and information for those who are already in the admin area and want to know what all the features do.
|
|||||||||||||||||||||||||||
First Time Users
To access your admin area, simply append "?admin" to the reachrss.php script when accessing it via your web browser. The default and sample templates included with ReachRSS all include an "Admin Login" link to provide easy access.
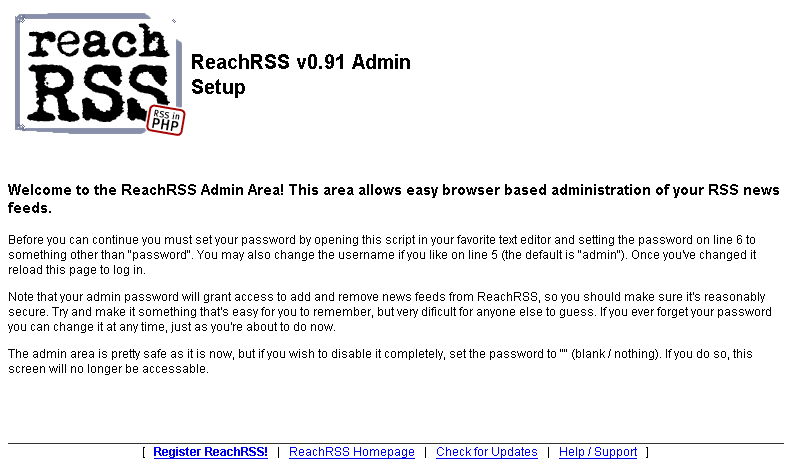
If you see a welcome / help screen (similar to the Fig 1 screenshot on the right) when you try and access your admin area, that's an indication that you didn't set your admin password during Step 1 of the Install guide. If this is the case, make the change on lines 5&6 of reachrss.php and upload your changes to the server before trying again. Remember that you need to make your admin password something other than "password". You can also change your admin username here as well, if you like.
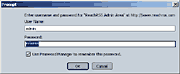
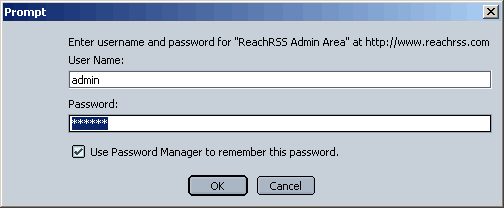
If everything's gone well you'll get a login prompt from your browser (similar to the Fig 2 screenshot on the right). Enter your admin username and password here (the same as you entered during the install) and hit enter to log in. Note that your username and password are both cAsE sensitive (password and PASSWORD are not the same). If your username and/or password is incorrect, you will see the login screen again.
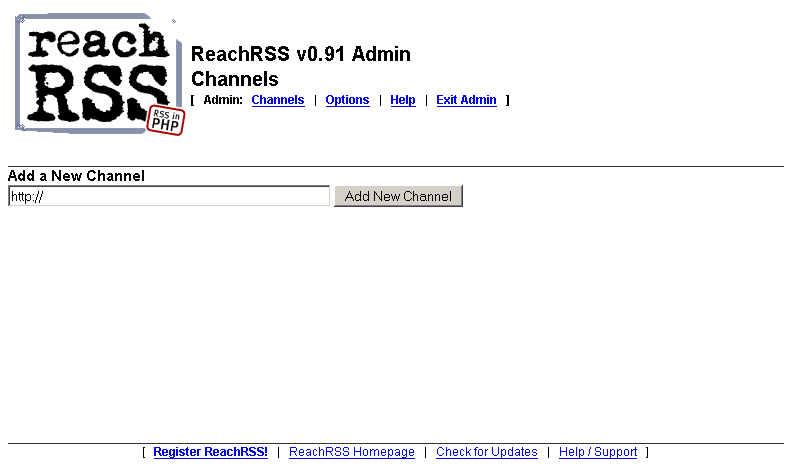
Once you've successfully logged in, you'll see the admin main menu (similar to the Fig 3 sample on the right). The most common task performed in the admin area is to manage your channels, and so this is the first thing you'll see.
Admin Area Guide
This section assumes you've already managed to get access to the admin area (see the section above if you havn't) and shows you some of the things you can do with it.
The most common thing you'll probably be doing is managing your channels, and so this is the first page you will see.
Adding a new Channel
Adding a channel to ReachRSS is simple. Just paste the RSS/RDF URL into the box right under "Add a New Channel" and click the "Add New Channel" button. ReachRSS will attempt to retrieve and parse the URL you specify. If successful, the new channel will be added. If there is a problem retrieving the URL, or if the URL is not a recognized RSS/RDF news feed, and error will be displayed indicating what went wrong.
Managing Channels
|
||
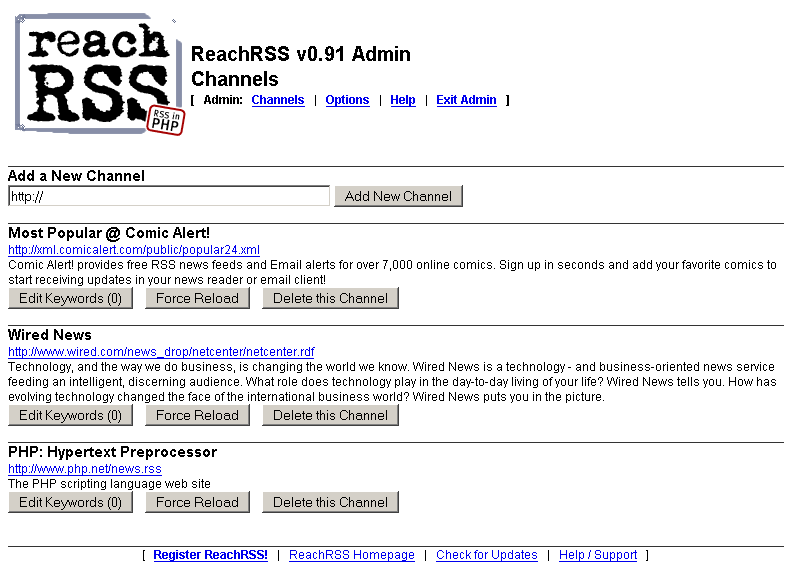
Once you've added one or more channels you'll see them listed under the "New Channel" area in the order they were added (see Fig 4 on the right). Under each channel title is a link to it's RSS file, it's description (if any), and a row of buttons you can use to manage that channel.
The "Edit Keywords" button allows you to define keywords for that channel. Keywords allow you to filter news items so that you only see news that you're interested in. This allows you to subscribe to busy news channels and only see items which match your keywords. Keyword filtering exists in the Registered version of ReachRSS only (the free version does not allow you to manage keywords).
The "Force Reload" button performs a forced reload on that channel. This is similar to holding down shift while clicking the reload/refresh button ni your browser. All cached copies of the channel are ignored and a new copy is requested from the source server. A force reload is called automatically whenever you modify your keywords.
The "Delete this Channel" button removes the channel from ReachRSS. All cached data and setting are purged, which means even if you add it again, your keywords, etc will have to be reset. Only delete a channel from ReachRSS if you no longer wish to view news from that source.
Keyword Editor
|
||
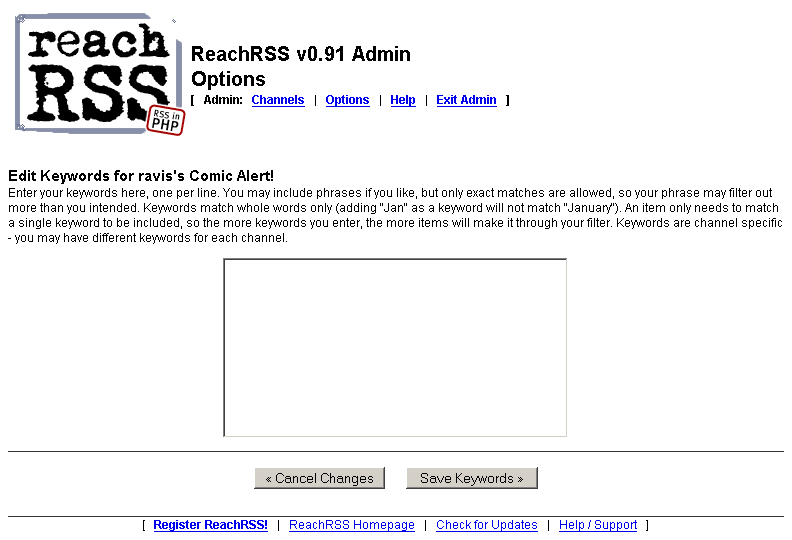
Clicking the "Edit Keywords" button under any channel will take you to the keyword editor area, where you can define keywords to match when parsing that channel (see Fig 5 on the right).
Enter your chosen keywords (one per line) in the space provided. You may include phrases if you like, but only exact matches are allowed, so your phrase may filter out more than you intended. Keywords match whole words only (adding "Jan" as a keyword will not match "January"). An item only needs to match a single keyword to be included, so the more keywords you enter, the more items will make it through your filter.
Click "Save Keywords" to make the changes, or "Cancel" to discard them.
Keywords are channel specific - you may have different keywords for each channel.
Admin Options
|
||
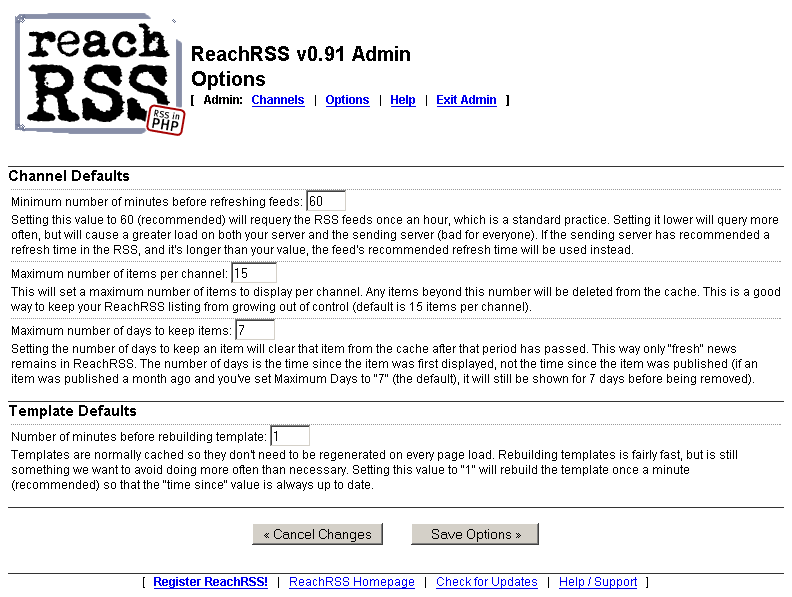
Along the top of the admin pages there's a row of links. The second link is "Options" and takes you to the Admin Options screen (see Fig 6 on the right). This area allows you to define settings that affect all channels and items that ReachRSS is monitoring, including the number of items to keep in each channel and the length of time to keep them for.
Channel Defaults
Minimum number of minutes before refreshing feeds
Setting this value to 60 (recommended) will requery the RSS feeds once
an hour, which is a standard practice. Setting it lower will query more
often, but will cause a greater load on both your server and the sending
server (bad for everyone). If the sending server has recommended a refresh
time in the RSS, and it's longer than your value, the feed's recommended
refresh time will be used instead.
Maximum number of items per channel
This will set a maximum number of items to display per channel. Any items
beyond this number will be deleted from the cache. This is a good way
to keep your ReachRSS listing from growing out of control (default is
15 items per channel).
Maximum number of days to keep items
Setting the number of days to keep an item will clear that item from the
cache after that period has passed. This way only "fresh" news
remains in ReachRSS. The number of days is the time since the item was
first displayed, not the time since the item was published (if an item
was published a month ago and you've set Maximum Days to "7"
(the default), it will still be shown for 7 days before being removed).
Template Defaults
Number of minutes before rebuilding template
Templates are normally cached so they don't need to be regenerated on
every page load. Rebuilding templates is fairly fast, but is still something
we want to avoid doing more often than necessary. Setting this value to
"1" will rebuild the template once a minute (recommended) so
that the "time since" value is always up to date.
Click "Save Options" after making your changes or "Cancel Changes" to discard them.
Exiting the Admin Area
To exit the admin area click the "Exit Admin" link in the top menu bar.
Home | Features | Samples | Demo | Download | Register | Help / Support